


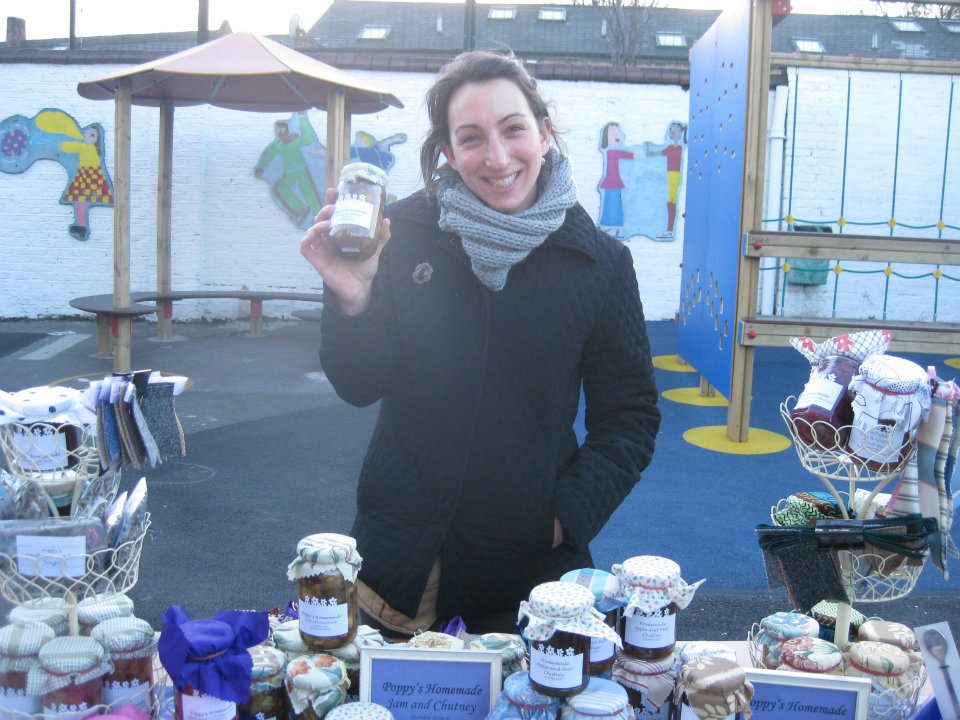
By Poppy Berelowitz, urban grower, teacher and chutney maker
Poppy has been growing fruit and vegetables for the past 5 years, working for numerous community growing projects in London, as well as spending 2 years gaining organic farming experience in North America.
reserving seasonal fruits and vegetables as jams, jellies, chutneys and relishes is one of the oldest culinary arts. It goes back to a period in time when food could not just be kept in the fridge or freezer to prevent it from going off.
I have been growing my own fruit and vegetables for many years. Some years, like this one, I have had a glut of fruit in my garden and on my allotment. I love experimenting with all the different berries and being inspired by what is in season. A favourite from this season, using the abundance of apples on the tree and some hot chillies growing in my greenhouse, is my Apple and Chilli Jam, which has a delicious spicy kick.
Often jams bought from the supermarket contain artificial flavourings and colourings. Making your own means you know exactly what goes in to the jar, and therefore what you are eating. I make both sweet and savoury preserves from jam, which can be eaten as a snack on toast, a side to go with a main dish or a dollop on yoghurt as a dessert.
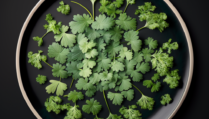
fruit: Soft fruits and berries are delicate fruits, which are best in the summer months or late autumn. Although they have their own distinct colour and flavour, one can mix and match depending on quantities and on what you can get hold of.
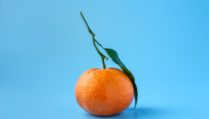
Orchard fruits such as apples, pears, quince and medlars can be added to each other for delicious combinations but also boiled and strained through cheesecloth to make clear jellies. Stone fruits such as cherries and plums have their own intense sweetness, in contrast to citrus fruit, which I buy from an organic supplier and use the zest for flavour or for pectin.

My equipment tips…
preserving pan: Although a standard non-stick pan does work, I find a specialist pan which is large, heavy and wide to allow rapid evaporation of liquid so that the setting point can be reached quickly makes the process a little easier.
a funnel: Filling the jars can be the messiest part but I find a wide funnel which sits on the rim of the jar makes transferring the jam to the jars considerably easier, especially if you are making a large quantity.
sterilising: There are several methods to ensure the jars are sterile. If you have a dishwasher, put the jars in on a rinse cycle on the hottest temperature with no detergents. The key is timing here as you want to ensure the jars are still hot but not wet when filling them with the jam.
thermometer: There are numerous ways to check the setting point of jam but my magic number is 105 degrees. For nearly all the jam I make I ensure the mixture reaches this temperature so the jam sets to a perfect consistency.
natural pectin: I rarely use commercial pectin in my jams, relying instead on the natural pectin of the fruit. When using low-pectin fruits and making a larger batch, I suggest adding lemon juice and boiling the mixture with the seeds of lemons which are high
in pectin.
Jam-making requires time and persistence. Once you have made your first couple of batches it’s easy to get the hang of things and learn from mistakes! My top tip to ensure successful jam making and preserving is to be patient and give yourself enough time, at least two hours.
Three years ago, when I returned to London after working on an organic farm in America, I set up Poppy’s Homemade. Selling in shops, cafes and farmers’ markets, my current range inlcludes: blackberry jam, quince and rosehip jelly, rhubarb, blackcurrant and vanilla jam and beetroot and apple chutney. For enquiries and orders for workshops, stalls, gifts and wedding favours, please email:
